An online cooking course should teach a specific result through tested recipes, clear instructions, and structured practice.
Strong courses go past recipe demonstrations.
Students should learn techniques they can apply in other dishes and understand how to correct common mistakes.
Choose a Clear Course Topic

A focused course topic makes the audience, outcome, and lesson plan easier to define
Choose one specific cooking skill, cuisine, diet, goal, or appliance.
Broad topics such as healthy cooking are harder to market. Narrow ideas make the audience and result easier to define.
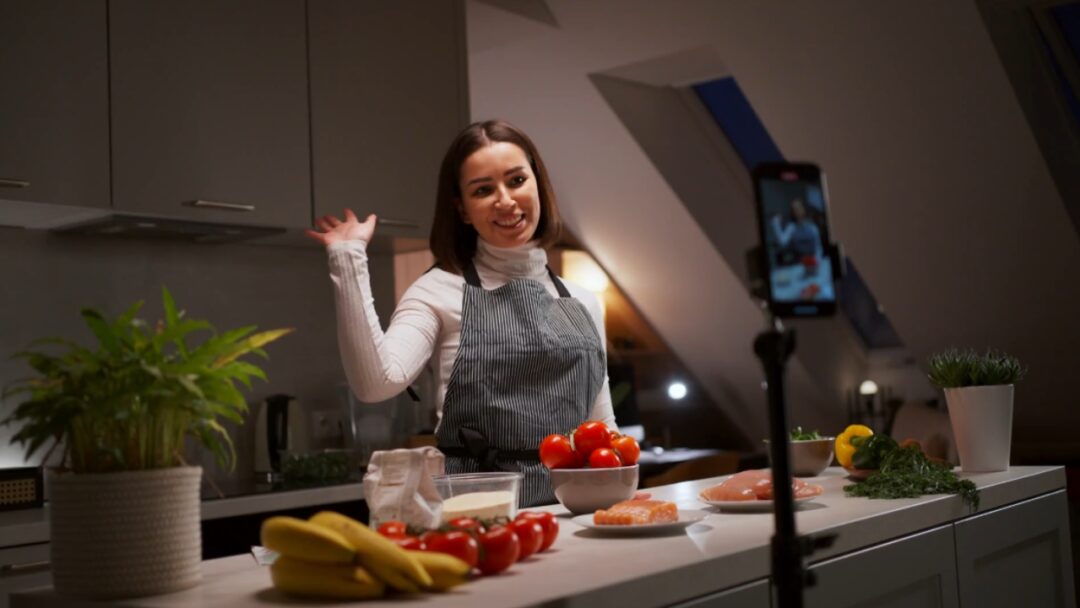
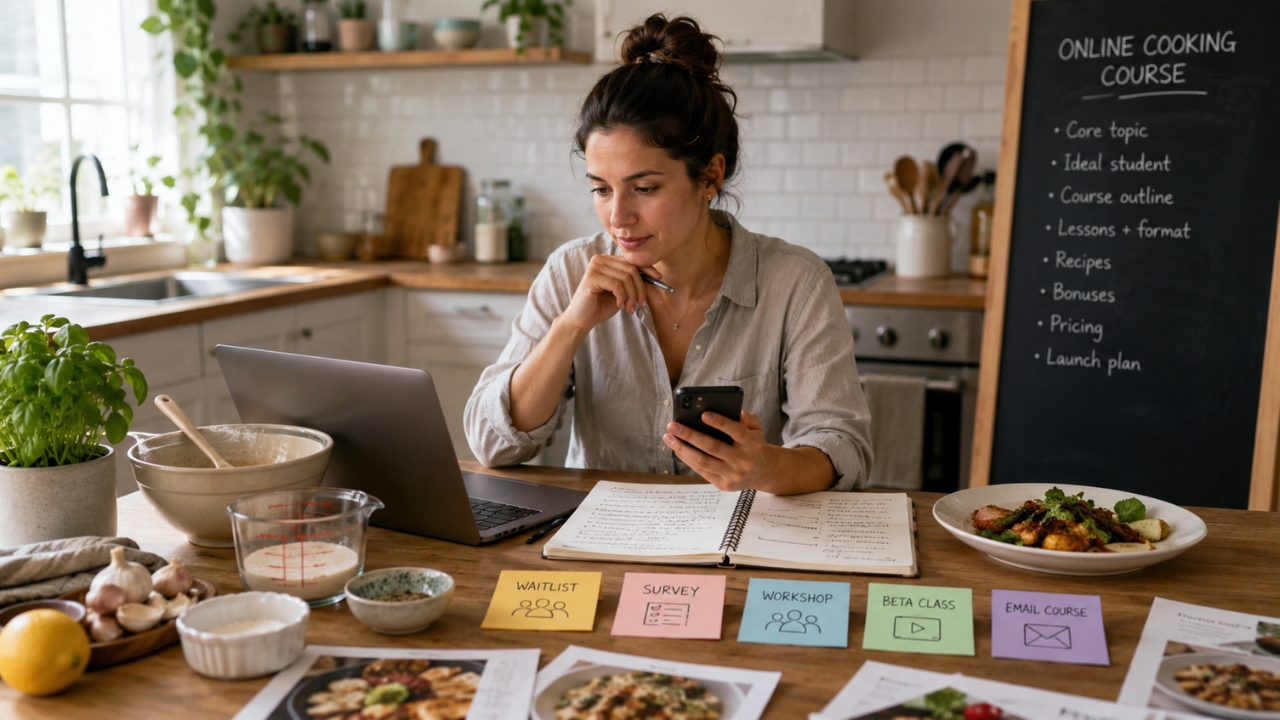
Define who the course is for and what students will be able to do after completing it. Technique-based courses often work well for first-time creators because students can see their progress and reuse each skill across several recipes. Choose a subject connected to your experience, professional work, family recipes, dietary knowledge, or years of practice. Each lesson should include: Use a tripod, adequate lighting, clear audio, and an unobstructed camera angle. Add close-ups for techniques, textures, and signs of doneness. Focused videos of about 10 to 20 minutes often work well. Split longer subjects into shorter lessons. Edit out unnecessary pauses, repeated explanations, and setup delays. Use text overlays for temperatures, measurements, timing, and important reminders. Clear visual aids can make ingredient lists, technique summaries, lesson recaps, and step-by-step instructions easier to follow. A presentation design tool can help you create consistent slides, add photographs and diagrams, and export supporting materials as PowerPoint or PDF files. Ask students to prepare recipes, submit photographs, or demonstrate techniques. Test demand with a waitlist, survey, or trial class before you invest in full course production Confirm demand before spending time on recipe development, filming, and editing. Review repeated questions in blog comments, emails, social posts, classes, and cooking communities. Ask potential students what they struggle with, what they have already tried, and what result they want. A free email course can validate the topic and build your mailing list. Live teaching is especially useful because student questions show where lessons need more detail. Build a community around your specialty through a blog, newsletter, local class, group, or social channel. Choose recipes that support the main learning goal. Arrange them so each recipe introduces or develops a skill. Start with simpler dishes and increase difficulty gradually. Test every recipe more than once. Confirm: Include sensory cues such as color, texture, thickness, aroma, and internal temperature. Test substitutions instead of assuming they will work. Changes to flour, dairy, eggs, sugar, fats, or proteins can affect structure and cooking time. Ask other people to follow each recipe without your help. Their feedback can reveal unclear wording, missing steps, or unrealistic timing. Recipe development may require repeated testing, photography, writing, filming, and editing before publication. Start with a simple success that builds confidence. Make each lesson prepare students for the next one. Add short checkpoints, practice tasks, or photo submissions. Teach transferable skills instead of focusing only on individual dishes. A sauce course, for example, can teach heat control, reduction, thickening, seasoning, and correction methods. End with a recipe or project that combines several course skills. Choose a platform that fits your sales model and set a price that reflects course value and total cost Choose a platform that supports: Possible sales models include: Set the price according to course depth, recipe quality, production standards, support, downloads, and the value of the result. A short course that solves a specific problem may be worth more than a longer course filled with general information. Account for payment fees, platform costs, support time, and production expenses. A strong sales page shows the student outcome, course value, proof, price, access terms, and refund policy A sales page should explain what students will achieve and why the course is useful. Include: Explain that students are paying for structured instruction, tested methods, troubleshooting, and guided practice, not only recipe files. Describe each module according to what students will learn or complete. Use specific testimonials that mention better results, stronger skills, faster preparation, or improved confidence. Keep the page organized with clear headings, relevant keywords, short sections, and fast-loading media. State technical requirements, support options, access length, and refund conditions clearly. Begin promotion before enrollment opens. Share recipe testing, filming, lesson planning, and course development. Ask your audience what they want included and recruit beta students to test the lessons. Promote through: Use an email sequence to explain the problem, present the course, answer objections, share results, and announce deadlines. Offer genuine launch pricing or time-limited bonuses. Link relevant free recipes to the course as the next step for readers who want more instruction. Continue publishing dependable free content after launch to attract future students. A strong online cooking course teaches a clear result through tested recipes, progressive lessons, focused videos, printable materials, and practical assignments. Validate the topic before full production, price the course according to its value, and improve it through student feedback. Consistent free content, clear positioning, and reliable support can help turn your recipes into a long-term digital product.
Create the Course Content
Validate the Idea
Select and Test Your Recipes
Structure the Course
Use a clear sequence that moves students toward a final result.
Choose a Platform and Price

Build a Sales Page
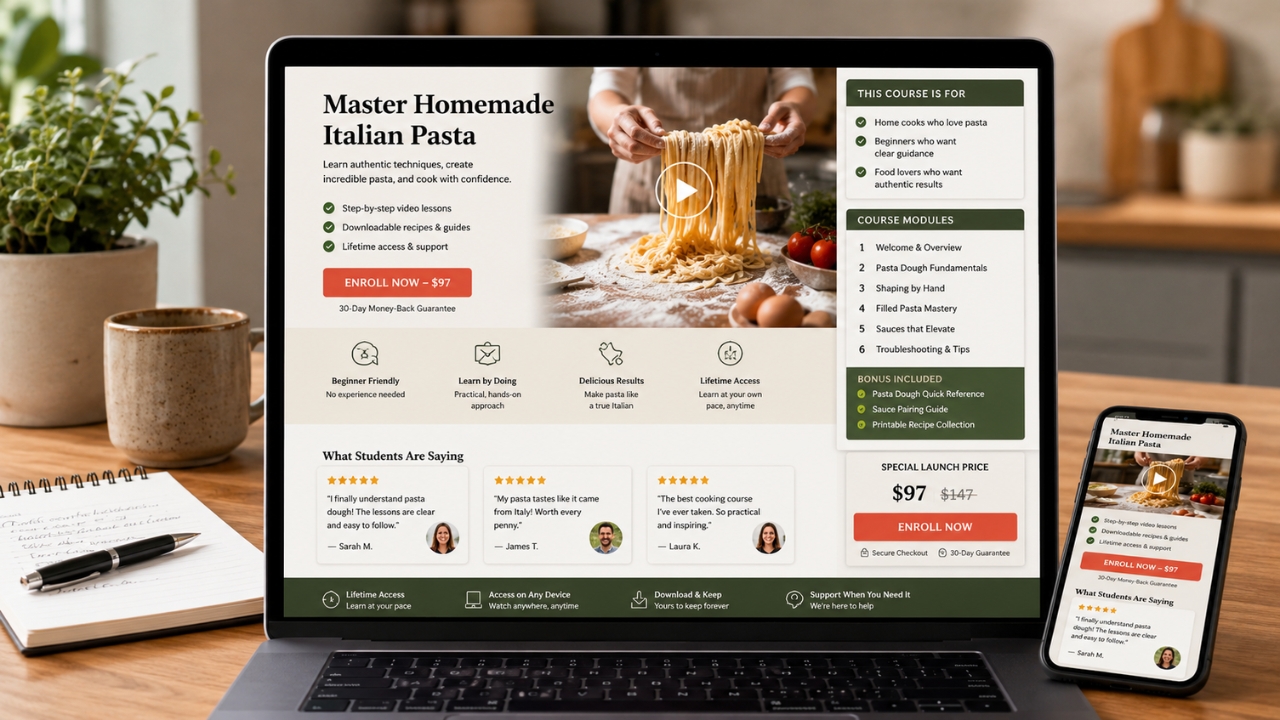
Launch and Promote the Course
Closing Thoughts