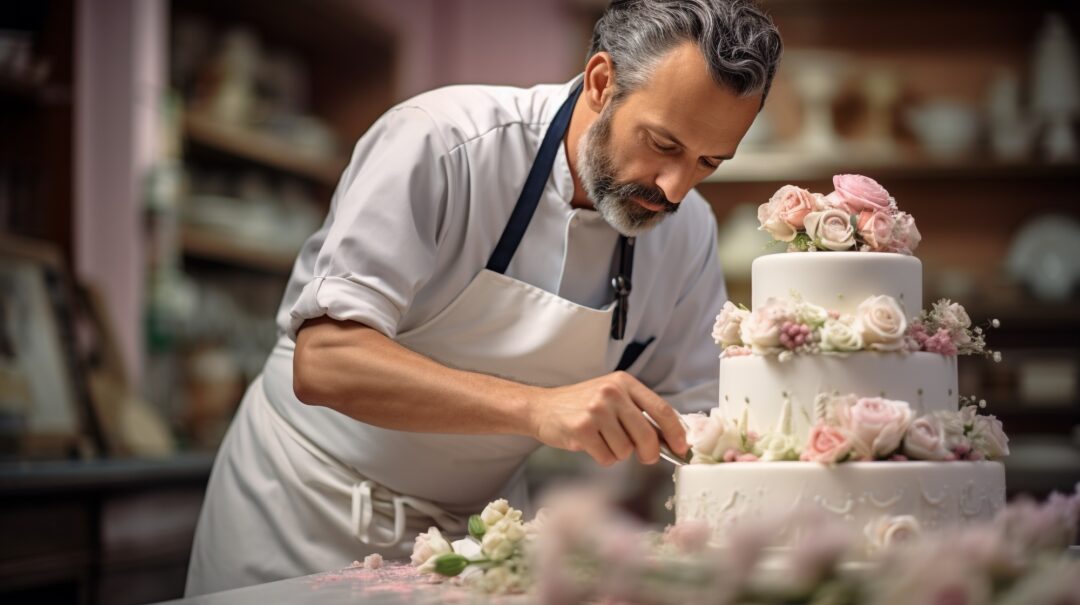
You know those jaw-dropping cakes you see in magazines or bakery windows – the ones so gorgeous you almost don’t want to cut into them? With their flawless fondant, intricate edible blossoms, and downright artful piping?
Well, pull up a seat. This cake decorating guide’s got the secrets to creating those kinds of sophisticated showstoppers right at home!
You’ll learn how to stack layers with architectural precision, coat cakes in flawlessly smooth finishes, pipe elaborate designs, and handcraft decorative elements worthy of a gallery display.
By the end, you’ll have all the skills to unleash your inner pastry Picasso.
Get The Right Cake Decorating Tools
Source: freepik.com
Having the right high-quality cake decorating tools makes all the difference when you’re aiming for sophisticated looking cakes.
Splurge a little on an offset spatula – it helps frost those layers flawlessly smooth. A cake turntable is a must-have to spin the cake as you pipe designs and borders – way easier than trying to decorate a stationary cake.
And do get a decent set of piping tips – they come in so many shapes and sizes to create gorgeous details. Oh, and don’t forget a fondant smoother for getting that wrinkle-free polished fondant finish.
Master The Art Of Piping
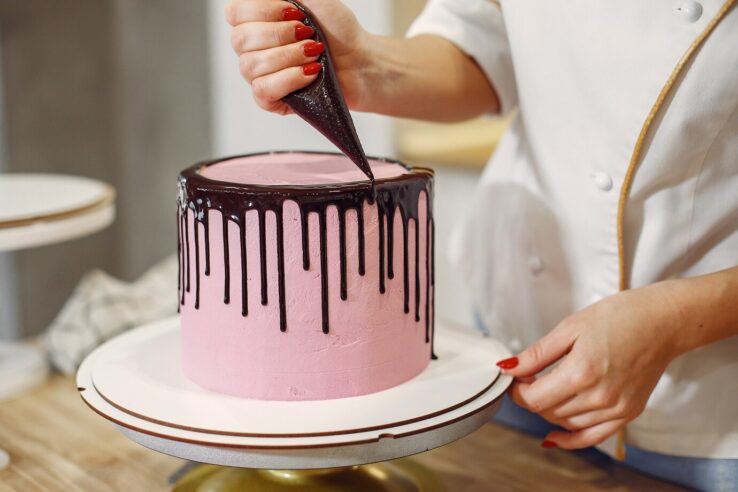
When it comes to next-level cake decoration, piping skills are pretty much mandatory. Grab some piping bags and tips and practice, practice, practice! Start with basic techniques like making perfect rosettes, stars, and writing.
The more you pipe, the more control you’ll have in guiding the frosting exactly where you want it. Pay attention to how slight adjustments in pressure, piping angle, and tip size impact the results.
Once you’ve got beautiful blooms, sharply defined lines, and fancy script down, you can pipe anything. Looking to take it up a notch higher? Consider enrolling for cake decorating courses and get your pastry game in line.
Get The Layers Just Right
Source: freepik.com
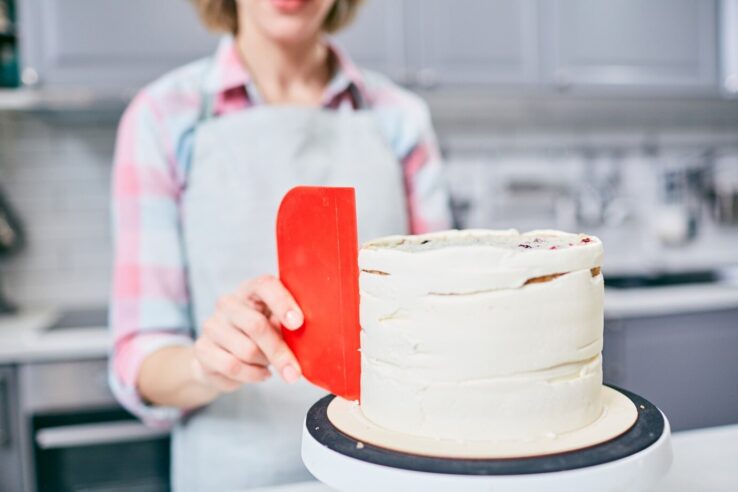
This one step makes a huge difference both visually and tastewise – carefully cutting uniform cake layers. Taking the time to slice even layers ensures each bite has ideal proportions of cake to frosting.
Visually, evenly stacked layers just look more professional. Reducing the angled sloping sides also makes decorating the outside of the cake easier. You can invest in a fancy cake leveler or maybe try your luck great luck using dental floss and a long serrated knife. Give it a try!
Use A Crumb Coat For Flawless Frosting
Here’s a game-changing tip when it comes to cake decorating – use a crumb coat before adding your final layer of decorative frosting or fondant. A crumb coat is a super thin layer of usually buttercream frosting that seals in all those cake crumbs.
Apply it gently with an offset spatula, chill briefly, then add your pristine external layer. Voila – no crumbs to mar the beautifully smooth finish you worked so hard on. Such a simple step makes a huge difference in getting sophisticated, professional results.
Get Creative With Fondant
Source: freepik.com
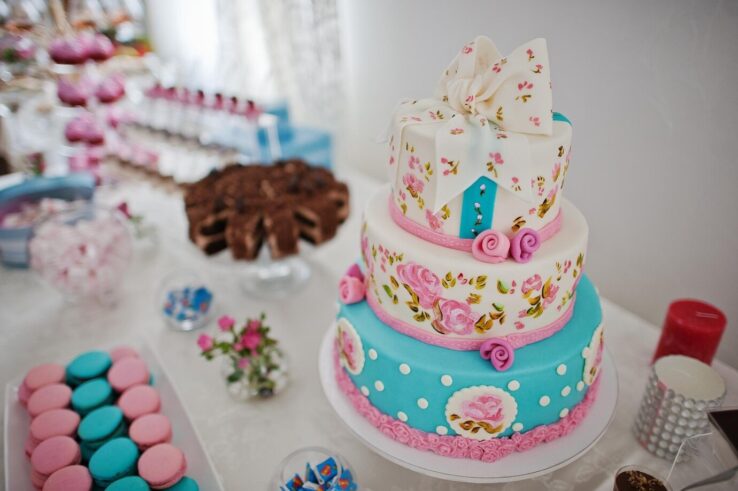
If you really want to bring your cakes to a whole new level of distinctive and artsy, it’s time to start experimenting with fondant. That mildly sweet, pliable sugar dough can transform ordinary cakes into true masterpieces.
You can roll fondant supersmooth and drape it flawlessly over tortes for a polished look. But where it really shines is in creating decorative accents. Fondant lends itself beautifully to shaping intricate florals, figurines, cut-out designs. Anything your imagination dreams up!
And it takes food coloring like a charm too. Unleash your inner sculptor! With practice, you’ll be crafting stunning one-of-a-kind cakes in every color and shape.
Mind The Temperatures
This one throws lots of folks off – but paying attention to temperatures makes a big difference when it comes to cake decorating! For example, buttercream frosting can be a nightmare if too cold and rock hard from the fridge.
Bring it to room temp for the silkiest, fluffiest texture that’s much easier to pipe and spread. But leave buttercream out too long in a hot kitchen, and it melts into a soupy mess!
Fondant also firms up when cool and gets sticky when warm – room temperature is best for kneading and shaping. Test ingredients and make adjustments so everything plays nice together throughout the decorating process.
In Closing
Well, there you have it – everything you need to unlock a world of cake decorating possibilities! This guide should make you feel empowered to experiment with all kinds of designs now that you know the right tools, materials, and techniques.
Most importantly, remember that sophistication isn’t about complicated or perfect – it’s about channeling your unique creative vision into edible art. So don’t worry about Pinterest-worthy replicas. Embrace those lovely “imperfections” and dashes of whimsy that make your cakes distinctly yours.

