Who doesn’t love bread? It’s just that sweet mixture of carbohydrates and satisfaction that you get while eating it. However, making one yourself is not really that easy, even though you watched your grandma constantly bake one while you were younger. If you are looking to make bread the easy way, then visit Make The Bread for additional information about the bread tools that are necessary
In this article, we’ve decided to make a list of tips that will help you make the perfect bread and surprise your family and loved ones with your new skills. So let’s take a look.
source: bustle.com
What do I need for the perfect bread?
Before we start with the skills and other fancy ways you can make your bread, we need to get the required ingredients. Now, each bread is different and requires different things, but most of them have some “core” ingredients that are common and shared. For this example, we are going to be using the things that are needed to make French bread.
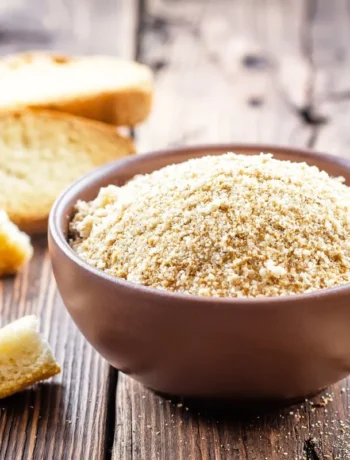
- Flour
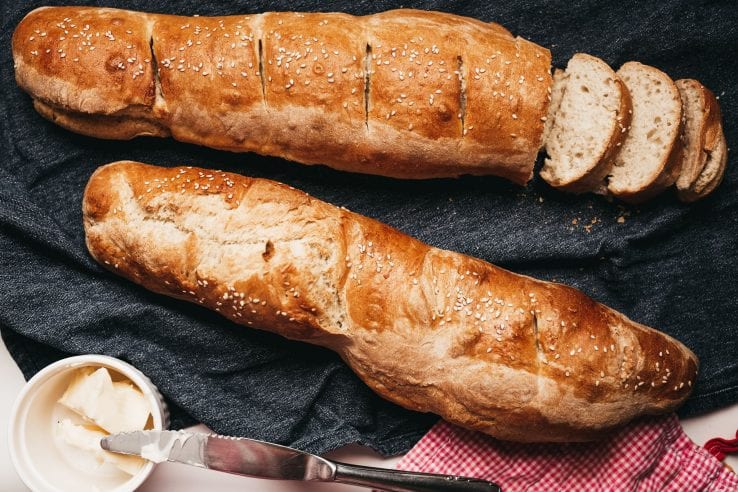
The key component of every bread, you can’t have one without the flour, so make sure that you are supplied with it before we begin our process.
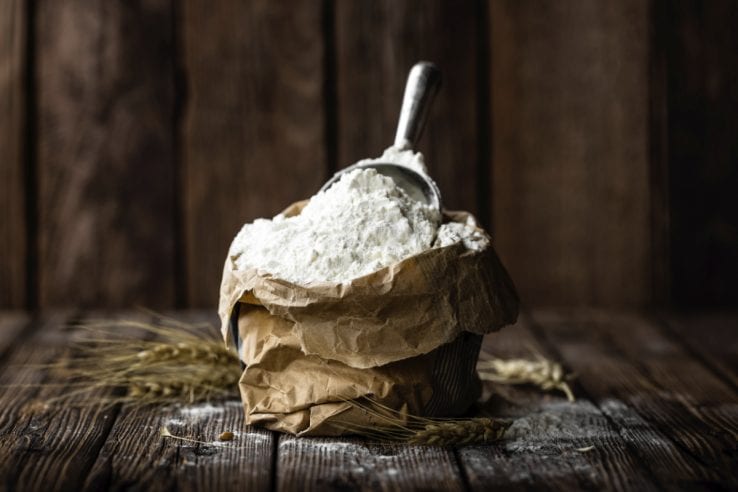
source: foodbusinessnews.net
- Salt
Another core ingredient that is present in many, if not all foods out there. You can experiment with this one, so if you are a person who loves their food a bit more salty, feel free to use some more. We are going to use just one teaspoon as it is some kind of a standard for this type of bread.
- Sugar
Once again, a core ingredient that is mandatory in the entire process, and just like the salt, you can adjust the amount of sugar as well.
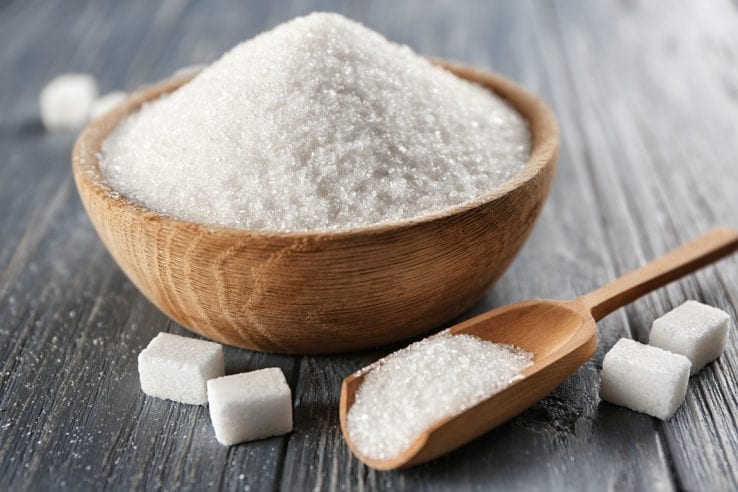
source: kafi-group.com
- Warm Water
And before you ask, yes, it has to be warm. It will mix better with all the other ingredients if it is not cold.
- A package of active dry yeast
This is pretty self-explanatory. Yeast is mandatory for almost all bread recipes, so make sure that you have enough before we start.
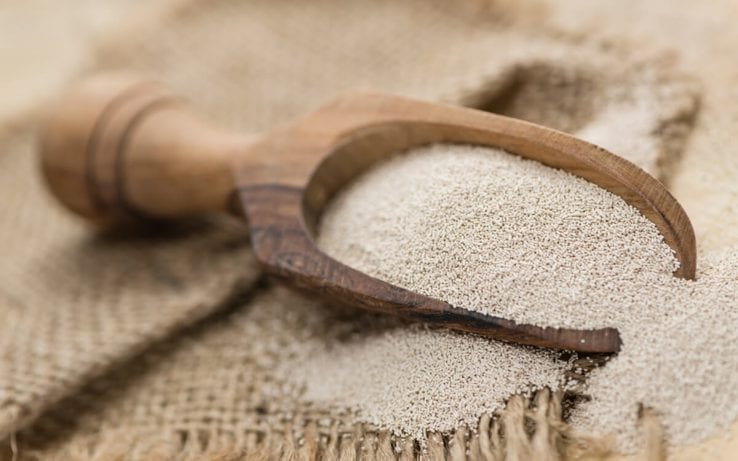
source: tasteofhome.com
Beginning the process
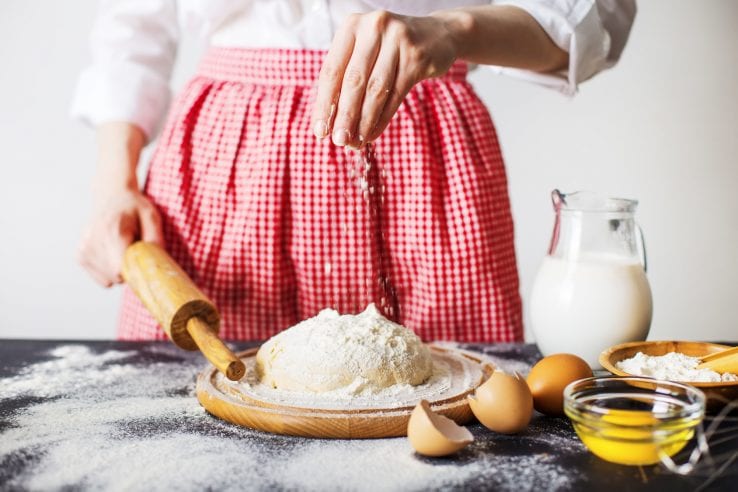
So now that you have everything you need, it is time to “activate the yeast”. Get a cup and mix the yeast with one-fourth cup of warm water. Make sure that your water is warm, but not too hot because it will kill the yeast. And according to Piavettini.com, if it is too cold, the yeast will not activate enough and your bread will not “rise” properly, and that is one of the most important features when it comes to making your bread look attractive and achieving the perfection. So pay close attention to this step.
When the yeast activates
After a minute or two, when the mixture starts getting thicker and frothy, it means that the yeast is activated. It should have a smell that reminds you of beer. Now it is time to mix the flour and salt together in a very large mixing bowl. You should be mixing with a wooden spoon while pouring. Next, it is time to add water. This is also a very important step because you must not stop mixing while the water is being poured into the mixture. It is even advisable to get someone to pour it for you while you are working with the spoon. You need to add just enough water until you feel like the mixture is good enough to form in bread, not too watery, not too hard. It might take some practice, but you’ll definitely get it.
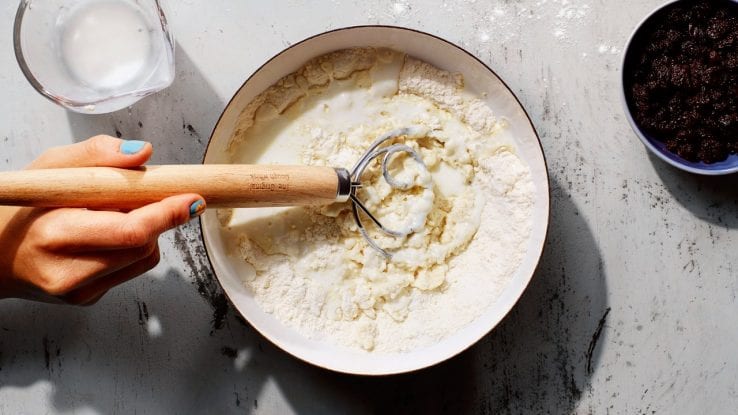
source: epicurious.com
Kneading
Next comes the fun part which we all loved when we were kids. Kneading the dough. Add the dough on a well-floured kneading surface, usually, your kitchen’s main table will work just fine. Then, simply knead for about seven to ten minutes. After that, you simply let the dough rise for about two to three hours in a bowl that is covered by plastic wrap or simply a towel.
Baking
source: thespruceeats.com
At this point, you are done with the mixture and the core of the bread, so if you have some ideas for decorations or whatnot, now’s the time to do it. If you want to be straight forward and keep it simple, you are free to put your bread in the oven and start baking. You are supposed to be baking it at four hundred degrees F for about thirty minutes, or until you see that the crust is becoming golden and crunchy.